

Whenever I make pizza at home, I use the store-bought crust but I always end up wondering that since I'm getting half the pizza from outside, I may as well order home delivery. I have never made my own pizza dough and considering that my baking adventures started only recently, it wouldn't have crossed my mind. I've always known that making pizza dough at home is simple albeit slightly time consuming. I'm quite convinced that if I get hooked, I may never return to the store-bought crust again.
Before I attempted to make pizza from scratch at home, I made pizza buns. These are bite-sized snacks which taste similar to pizza but in the form of a bun. I found several recipes and I compiled points from a select few to make my own version. I was delighted with the results. The buns were soft and the filling was delicious. Leftover buns can be kept in the fridge and rewarmed for the next 2-3 days and they still taste fresh. The next on my agenda is to bake pizzas and calzones from scratch and I'm hoping that they turn out good enough to be worth the extra effort.

Here is my version of the recipe. I usually don't put up step-by-step pictures for all my recipe posts but in this case I decided to do so because it isn't exactly what I would consider a straightforward recipe (especially for a baking novice). I've put in some tips and footnotes to help you overcome some of the challenges that I came across. If you are new to baking breads, I hope you will find this post useful 😊
Homemade Pizza Buns
Preparation time: ~ 90 mins (includes dough rising time)
Homemade Pizza Buns
Preparation time: ~ 90 mins (includes dough rising time)
Baking time: 20 mins
Makes: 8-12 buns
Makes: 8-12 buns
Recipe Category: Breakfast or Snack/Italian
Recipe Level: Intermediate
Recipe Level: Intermediate
Recipe Source: Various websites and blogs
Ingredients:
For the buns:
3 cups self-raising flour (just add 2 tsp of baking powder for each 150g/6oz/1 cup plain flour & sift)
1/2 cup whole milk
1/2 cup melted unsalted butter
1 tsp salt
3 tsp sugar
1 egg
1 envelope of active dry yeast or 11/2 tsp instant yeast
2 tsp white sesame seeds for sprinkling (optional)
Milk and melted butter for brushing on top of the buns
Milk and melted butter for brushing on top of the buns
For the filling:
1 cup diced colored bell peppers/capsicum
1 medium onion chopped
1/4 cup sweet corn kernels
1/4 cup sweet corn kernels
2 pods of garlic, finely minced
1/2 cup grated cheese (I used a mixture of cheddar, parmesan and mozzarella)
2 tbsp pizza sauce
1 tsp dried italian herbs
1 tsp crushed red chilli flakes
Salt to taste
1/2 tsp sugar
Oil to saute the vegetables
Method:
1. Heat the milk until lukewarm and dissolve 1 tsp of sugar. Add in the yeast (swirl the cup gently to dissolve) and keep closed for 10-15 min until frothy. This step is done to proof the yeast.

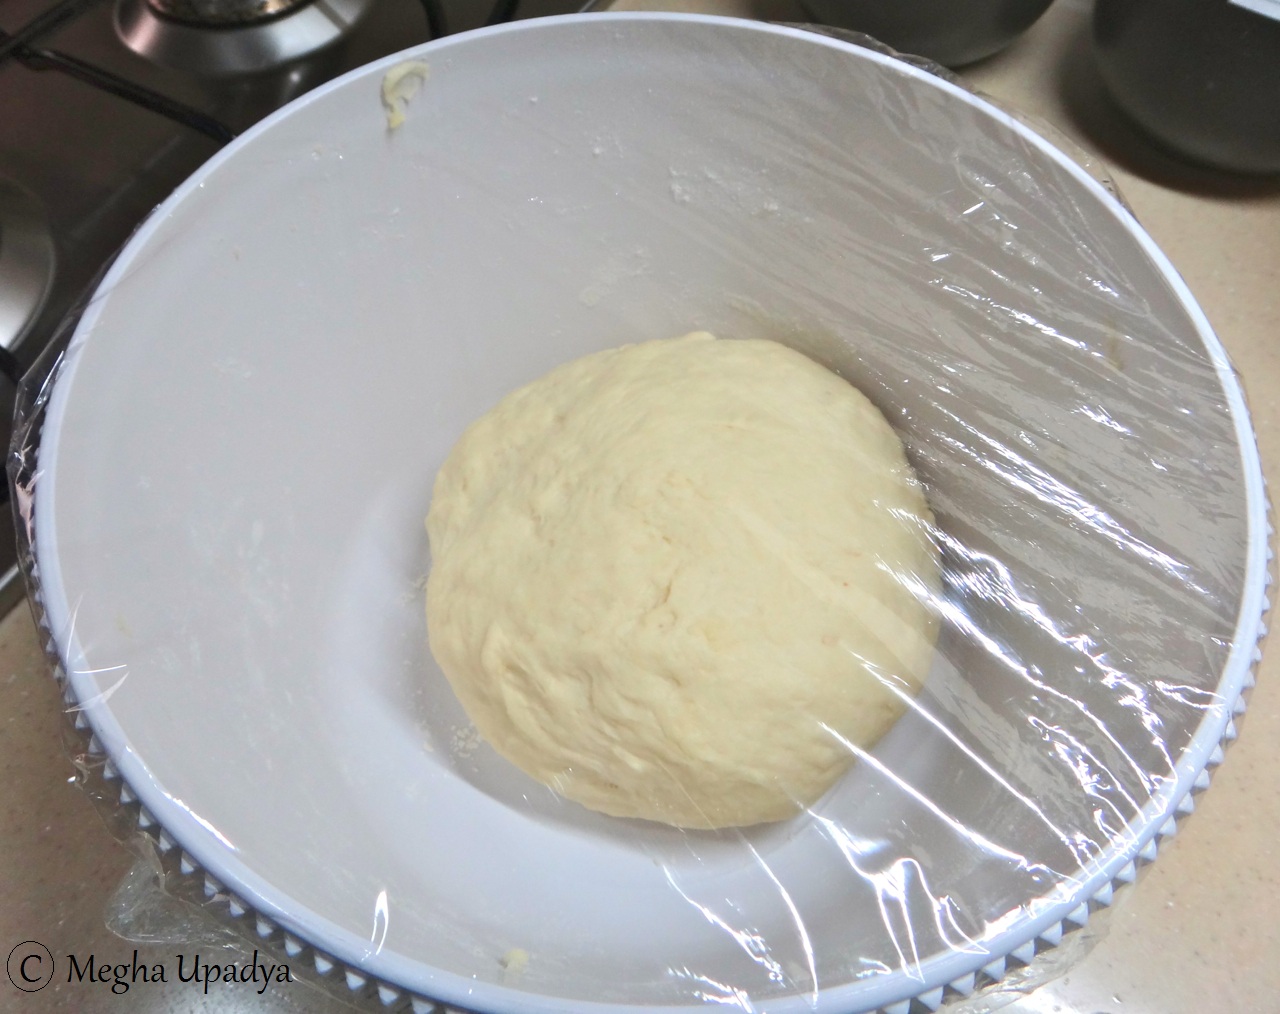
2. Take the flour is a large bowl. Add in the remaining sugar, salt and mix well. Make a dent in the middle, add the milk mixture, melted butter, a whisked egg and knead well (6-10 min) until you get a smooth, pliable dough. If the dough is too dry add in a few tsp of water or if it is sticky, add in more flour. Wrap the bowl with cling wrap or a tea towel. Leave in a warm place to rise for about 1 hour.
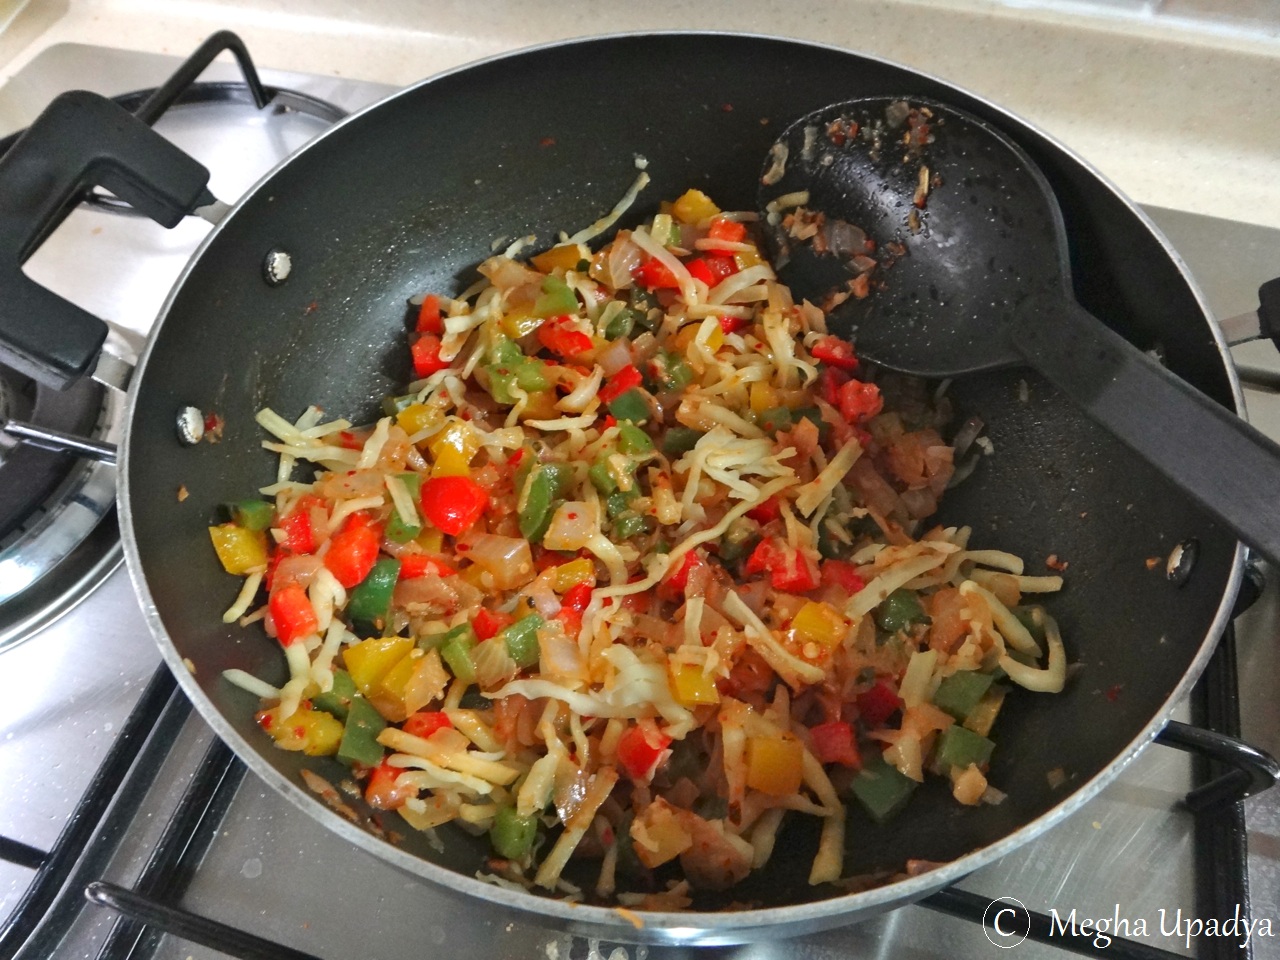
3. While the dough is rising, heat oil in a wok and fry the onions, bell peppers and garlic for 1-2 mins on high heat. Be careful to not overcook the vegetables. Turn off the heat. Add in the pizza sauce, italian herbs, red chilli flakes and salt to taste. Once it cools down, sprinkle the grated cheese and mix. Keep aside.
4. At the end of the hour, you will notice that the dough has doubled in volume. Punch the dough down and knead it again.

5. Shape the dough into a log and cut into 8-12 even pieces (depending on how many buns you want to make). The pieces at the end might be a tad smaller so you can combine both to form one ball.

6. Make the dough into balls, flatten with the palm of your hand or a rolling pin and add a tbsp of the filling in the centre of it. Pinch the edges of the dough to cover the filling. Make sure there are no gaps otherwise the cheese will ooze out. I'm not very good at this step but I'm trying to get better.

7. Place a sheet of parchment paper/aluminium foil over a baking tray. Place the buns on it leaving some distance between them. Leave to raise for another 20 min. While this is happening, preheat the oven to 190 deg C. Brush the buns with whisked egg white and sprinkle white and/or black sesame seeds over the top. Alternatively, you could brush the buns with milk.

8. Bake (on level 3 of the oven) for 18-20 min until the buns turn golden brown.

9. Once done, you can brush the buns with melted butter. Serve while still warm with the sauce of your choice.

Notes:
- You can replace the plain/all-purpose flour with whole wheat flour to make this recipe more nutritious
- In the filling, you can also use chopped jalapenos, olives, baby corn, mushrooms, sun-dried tomatoes and fresh herbs like basil
- When you heat the milk, it should not not be hot. When spooned over your wrist, it should feel warm.
- I usually use Fleischmann's active dry yeast. One envelope amounts to roughly 2 1/2 tsp. But I have also used instant yeast and that works equally well if not better. If you are using instant yeast, reduce the quantity i.e. use 11/2 tsp for this recipe.
- Don't thin out the dough ball too much when you are filling it otherwise the filling can leak out. Also make sure that the rolled out dough is of uniform thickness.
- Brushing the buns with milk before baking makes them softer and brushing them with egg whites, gives them a glossy surface. Use whatever you prefer.
Cheers,
Megha
I love reading ur blogs megha :).... i dont cook much..nor have i got a chance to...but ur posts surely inspire me to experiment and make cooking fun in the future whenever i get a chance to cook :)...n yes the way in which u blog is also very interesting, colorful and alive! :). kudos to u!
ReplyDeleteThank you very much. That is so sweet :)
ReplyDeleteThanks kano! The recipe and restaurant review pics in my blog are exclusively taken by me. Adarsh contributes only to the travel photos. I'm still getting by with my small Sony Cybershot camera. The Cannon SLR camera intimidates me! But once I start experimenting with that one, I'm sure the quality of the photos will be much better.
ReplyDeleteYeah the visitor count is slowly and steadily increasing but I never imagined that it would be so tough to garner a follower base. Takes a lot of effort, patience and time! I keep trying to introduce new features to make my blog more interesting. I'll keep trying :)
Thank you Frank. I appreciate you taking the time to go through my blog :)
ReplyDeletehey I tried this recipe..this dish accounts to be my first 'good' experience with baking..:-) ..but hey megha I was confused as to what to do with the eggs..
ReplyDeleteGood to hear Shazia.....oh yes I forgot to mention that. The egg (only 1) also goes into the bun dough mixture. I'll make the change in the recipe.
ReplyDeleteHi Megha..gud recipe..will surely try out..bt there is a problem..wat is the alternative for eggs as v dnt eat them..
ReplyDeleteHi there. Please do try it out. As for the egg, I think you can just leave it out. I don't think you will need any substitute. Good luck!
DeleteHi , superb recipe
ReplyDeletePlease can u post a baking dish which will be done in convention mode ?
I have so much confusion to bake in microwave and convention mode .
Ple help
Hey..can we avoid egg as I don't eat eggs.
ReplyDeletePlz share bun recipe without eggs..
ReplyDeleteHi Megha,
ReplyDeleteRecipe sounds interesting and the buns look so yummy. I wanna try it out. Can you let.me know what oven u used ? Whether u used a microwave in comvection mode or an otg ? I have a microwave with convection
Will it give me the same look and taste for the buns ?